I’ve spent hours and hours looking at different case models for my Raspberry Pi NTP server without luck. My basic requirement is that the case be large enough to add elements like the LCD display, and have space for the Pi and perhaps some ancillary circuit boards. There’s just nothing out there that meets these needs.
I eventually came around to the idea of 3D printing my own case. I admit, I spent a lot of effort avoiding this idea. I was concerned that it would take too long to learn how to use the CAD software, and that I’d have to purchase a 3D Printer.
When a friend offered to 3D print the case, 1 of my 2 objections was removed. I looked around and decided that Tinkercad would be a good solution for creating my case.
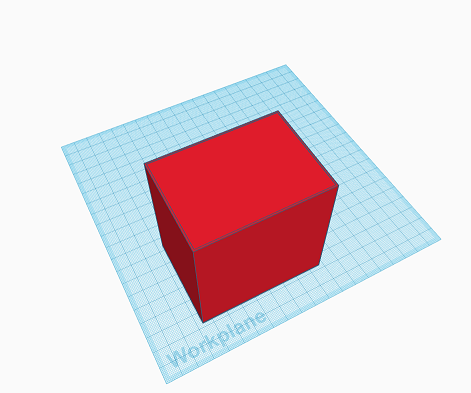
3D drafting takes some effort in changing your thought process. For example, to create the box shape, I drew a cube primitive. I then created another cube primitive, and subtracted it from the first. Here’s a step-by-step guide of the basic process.
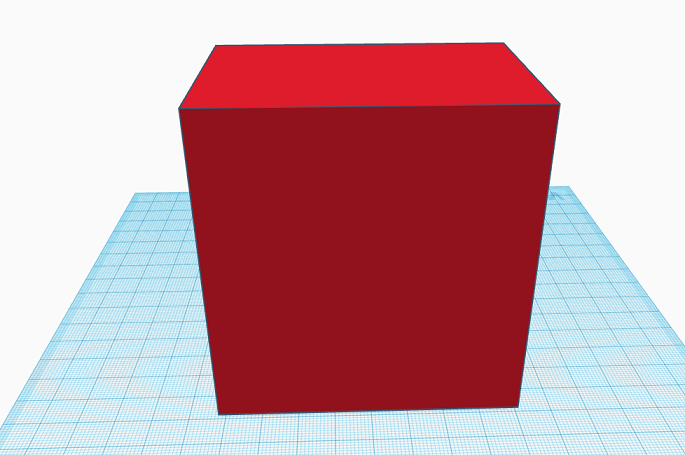
Step 1: Draw the box
Step 2 – Clone the box, and make it 2mm smaller in all three dimensions.
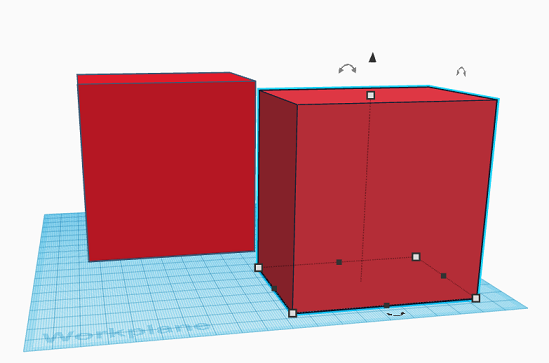
Step 3 – Center the smaller cube inside the larger one, and then align the top edges
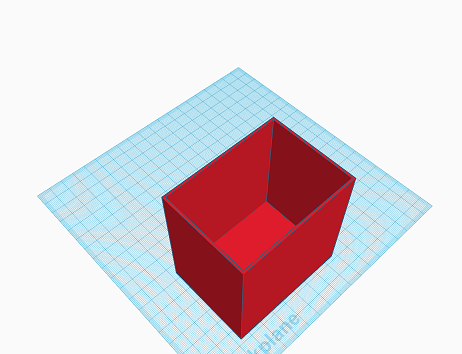
Step 4 – Mark the smaller shape as a “Hole” and intersect the smaller cube with the larger.
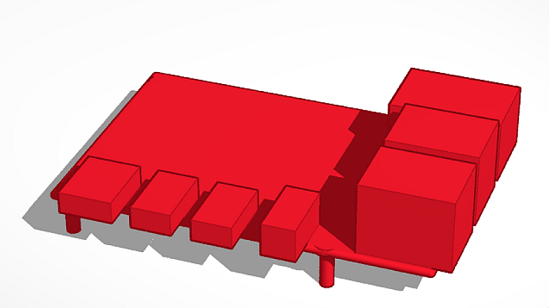
To make the cutouts for the Pi’s connectors, mounting hardware, etc. I created a simple 3D Raspberry Pi 4. I can re-use this on multiple projects. I just have to import it into a new project, subtract it from my case, and I have all of the connector holes done in one simple step.
In the same way, I made a 60mm Fan Cutout
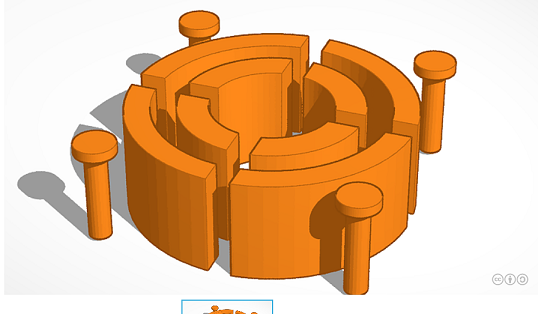
The fan cutout when intersected with the lid creates this:
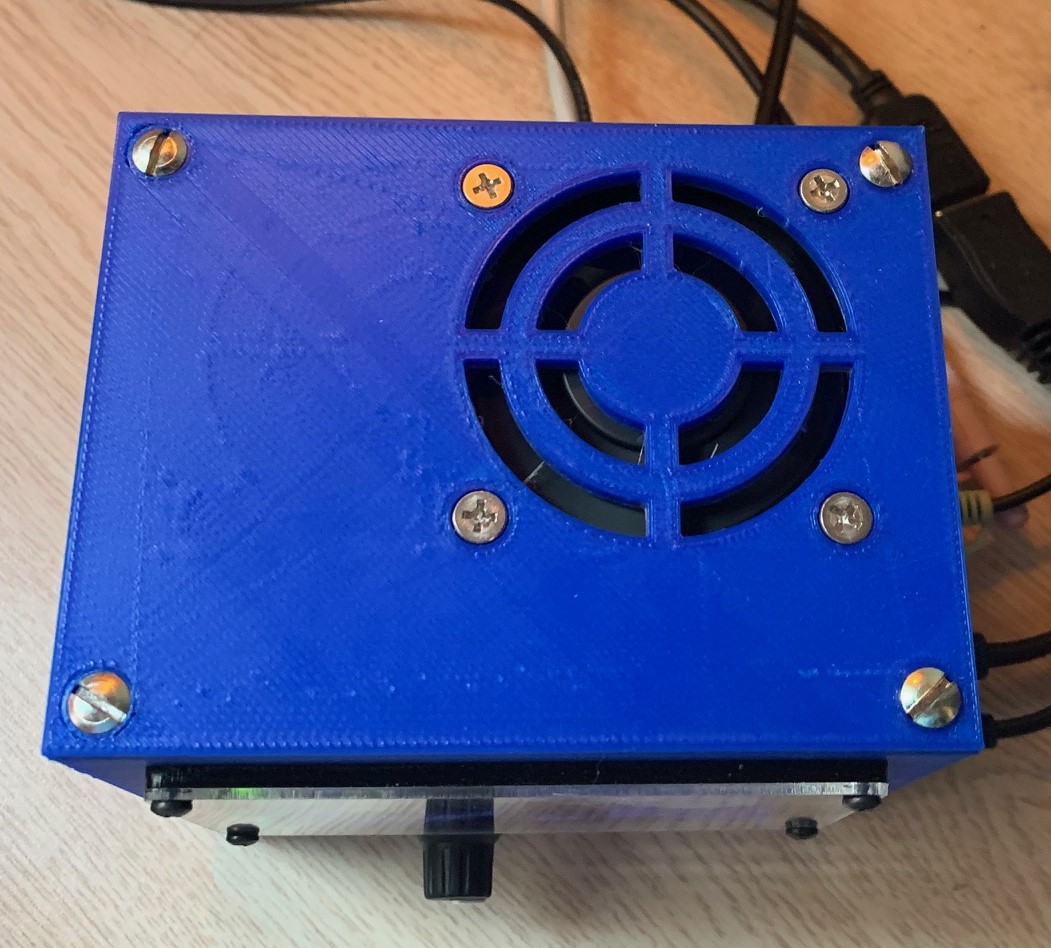
As I mentioned in the beginning, a friend 3D printed the final product for me. There are also 3D printing companies available online that can print your project for you. I tried a local one initially, and was pleased with the result. The final printed case looks like this:
Things to Change
I’ll look at 3D printing cases for future projects. The time I spent shopping for cases outweighed the time spent learning the CAD software and creating design. Since I’ve created re-usable components future efforts will be a lot faster too.
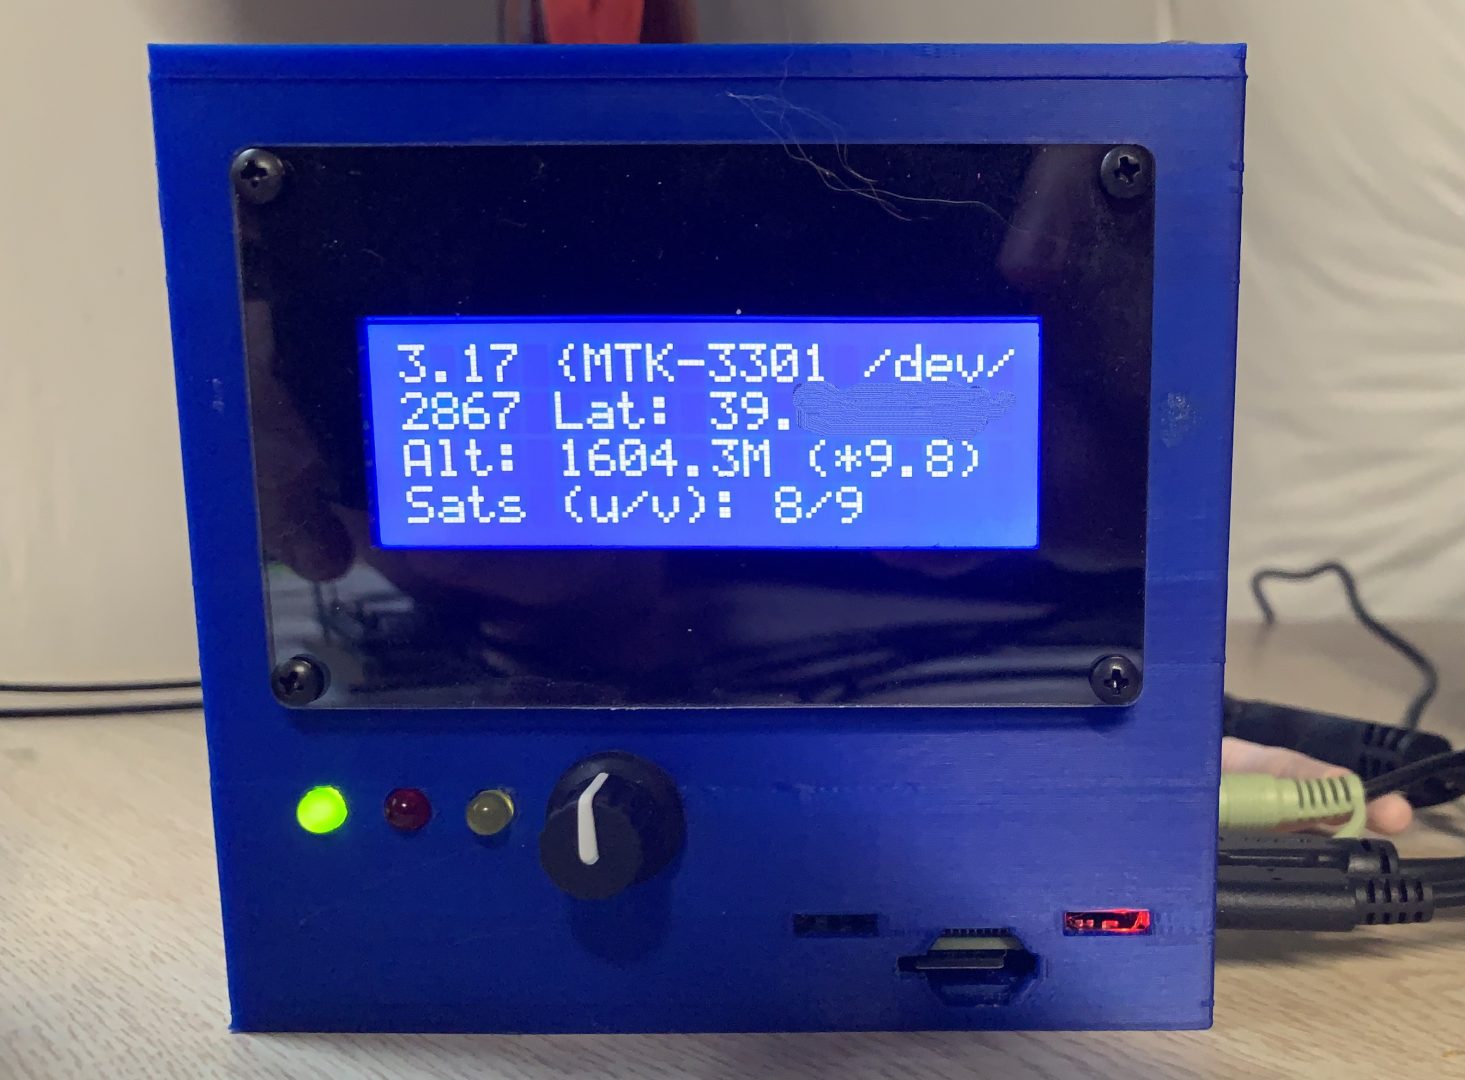
In the front of the case, there’s an opening to allow removal of the SD card. If I build a case like this in the future, I think I would like to use a SD extender cable so the card could be accessed from the top of the case, and that opening wouldn’t be necessary.